Starting an Upload
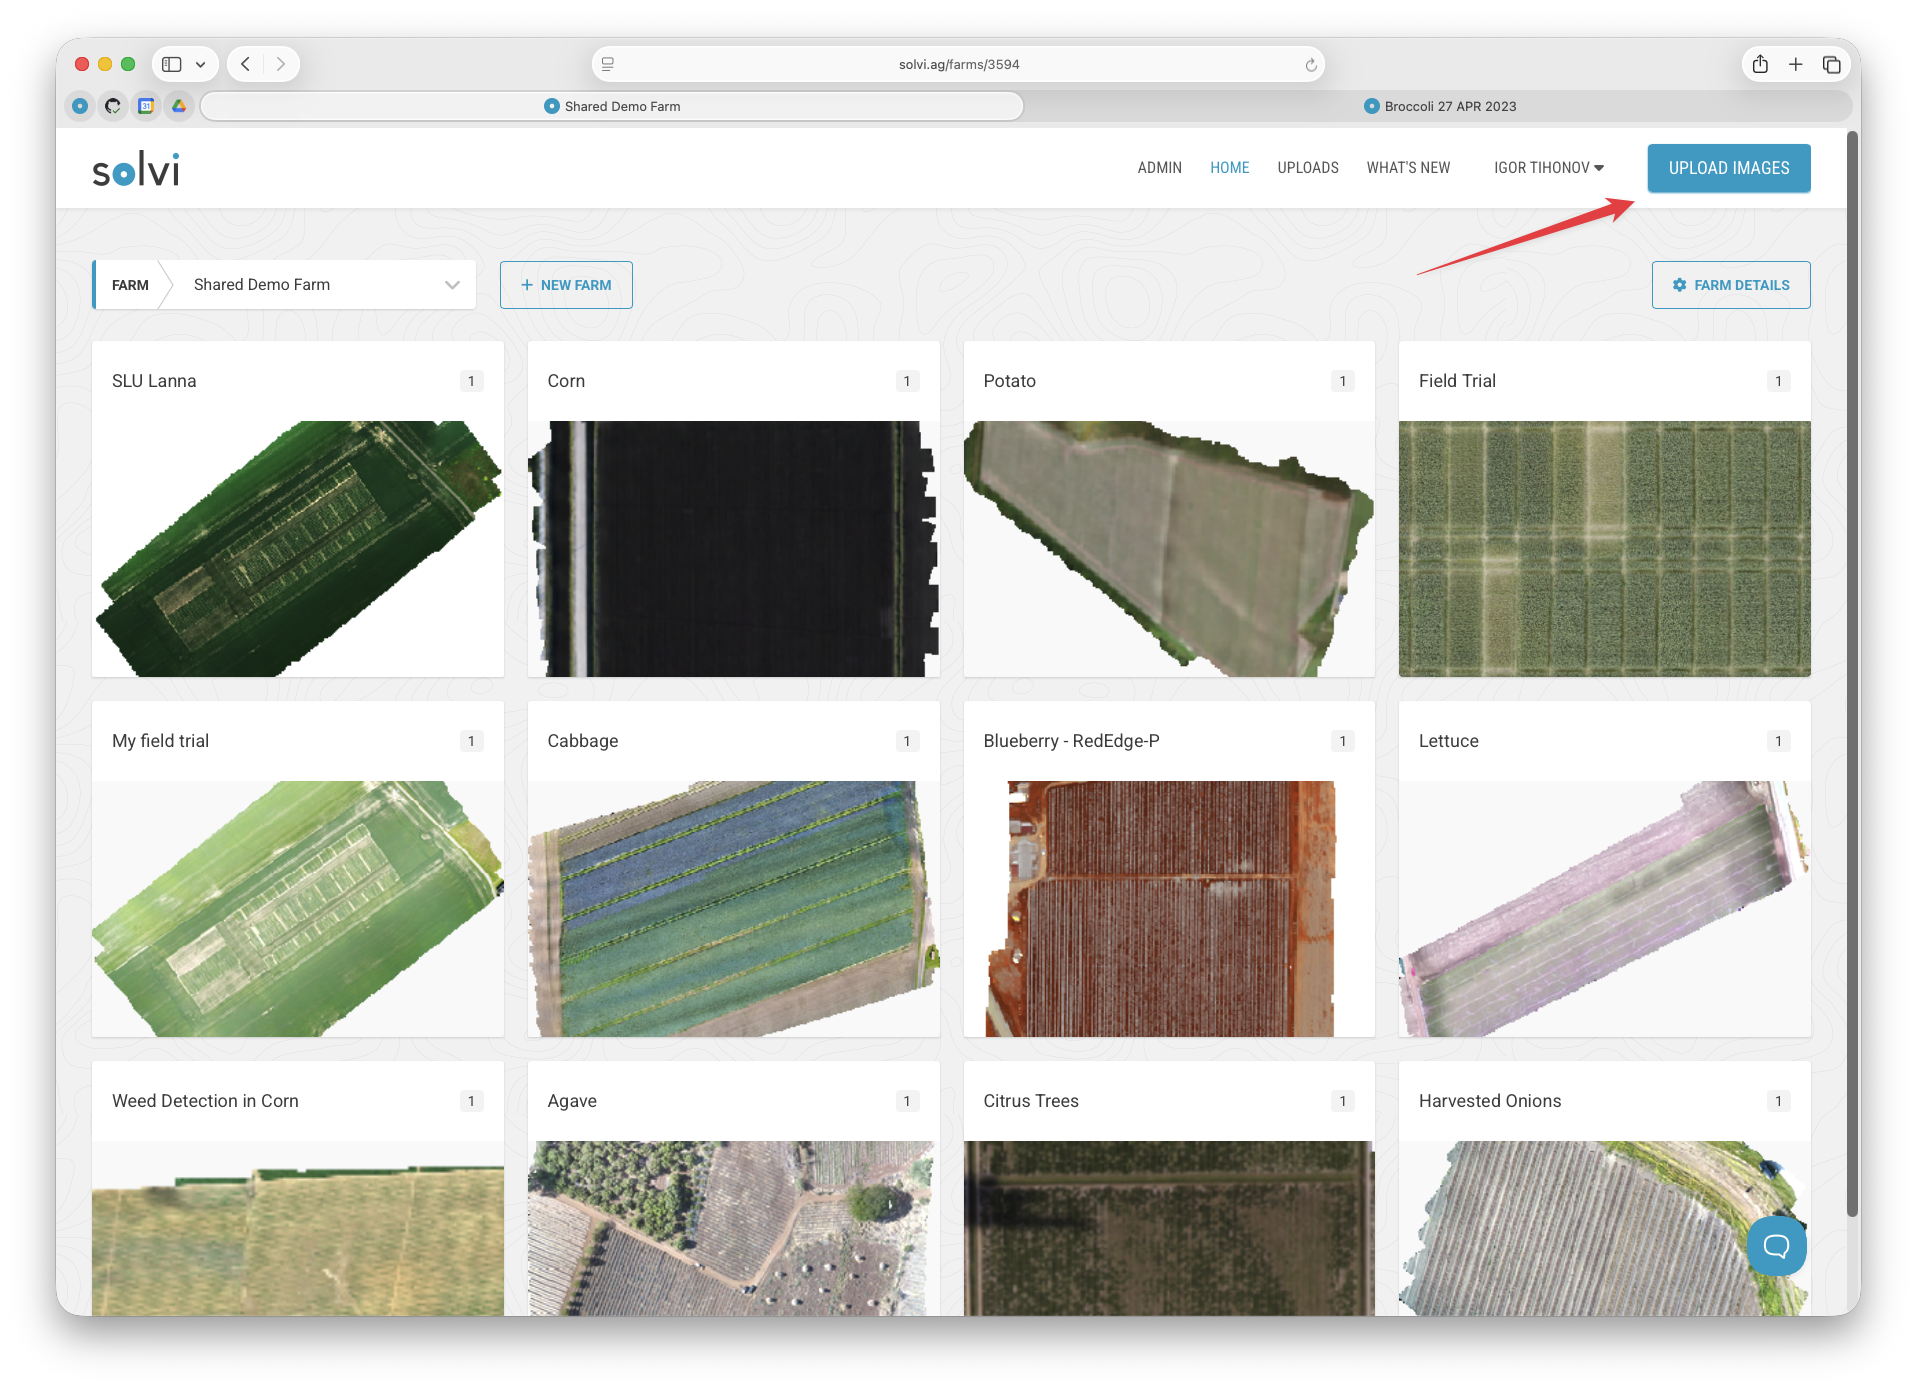
Accessing the Home Page
Begin on the Solvi home page after logging in. This is where all of your farms and fields are displayed. Think of it as your main dashboard — the place where every upload is linked to a specific farm and field. Before you upload, check that you are in the correct farm. If you need to create a new one, you can do that here first.
Starting a New Upload
To begin the workflow, click the Upload Images button in the top-right corner of the page. This opens the upload wizard, which will guide you through selecting imagery, reviewing it, and configuring details before processing.
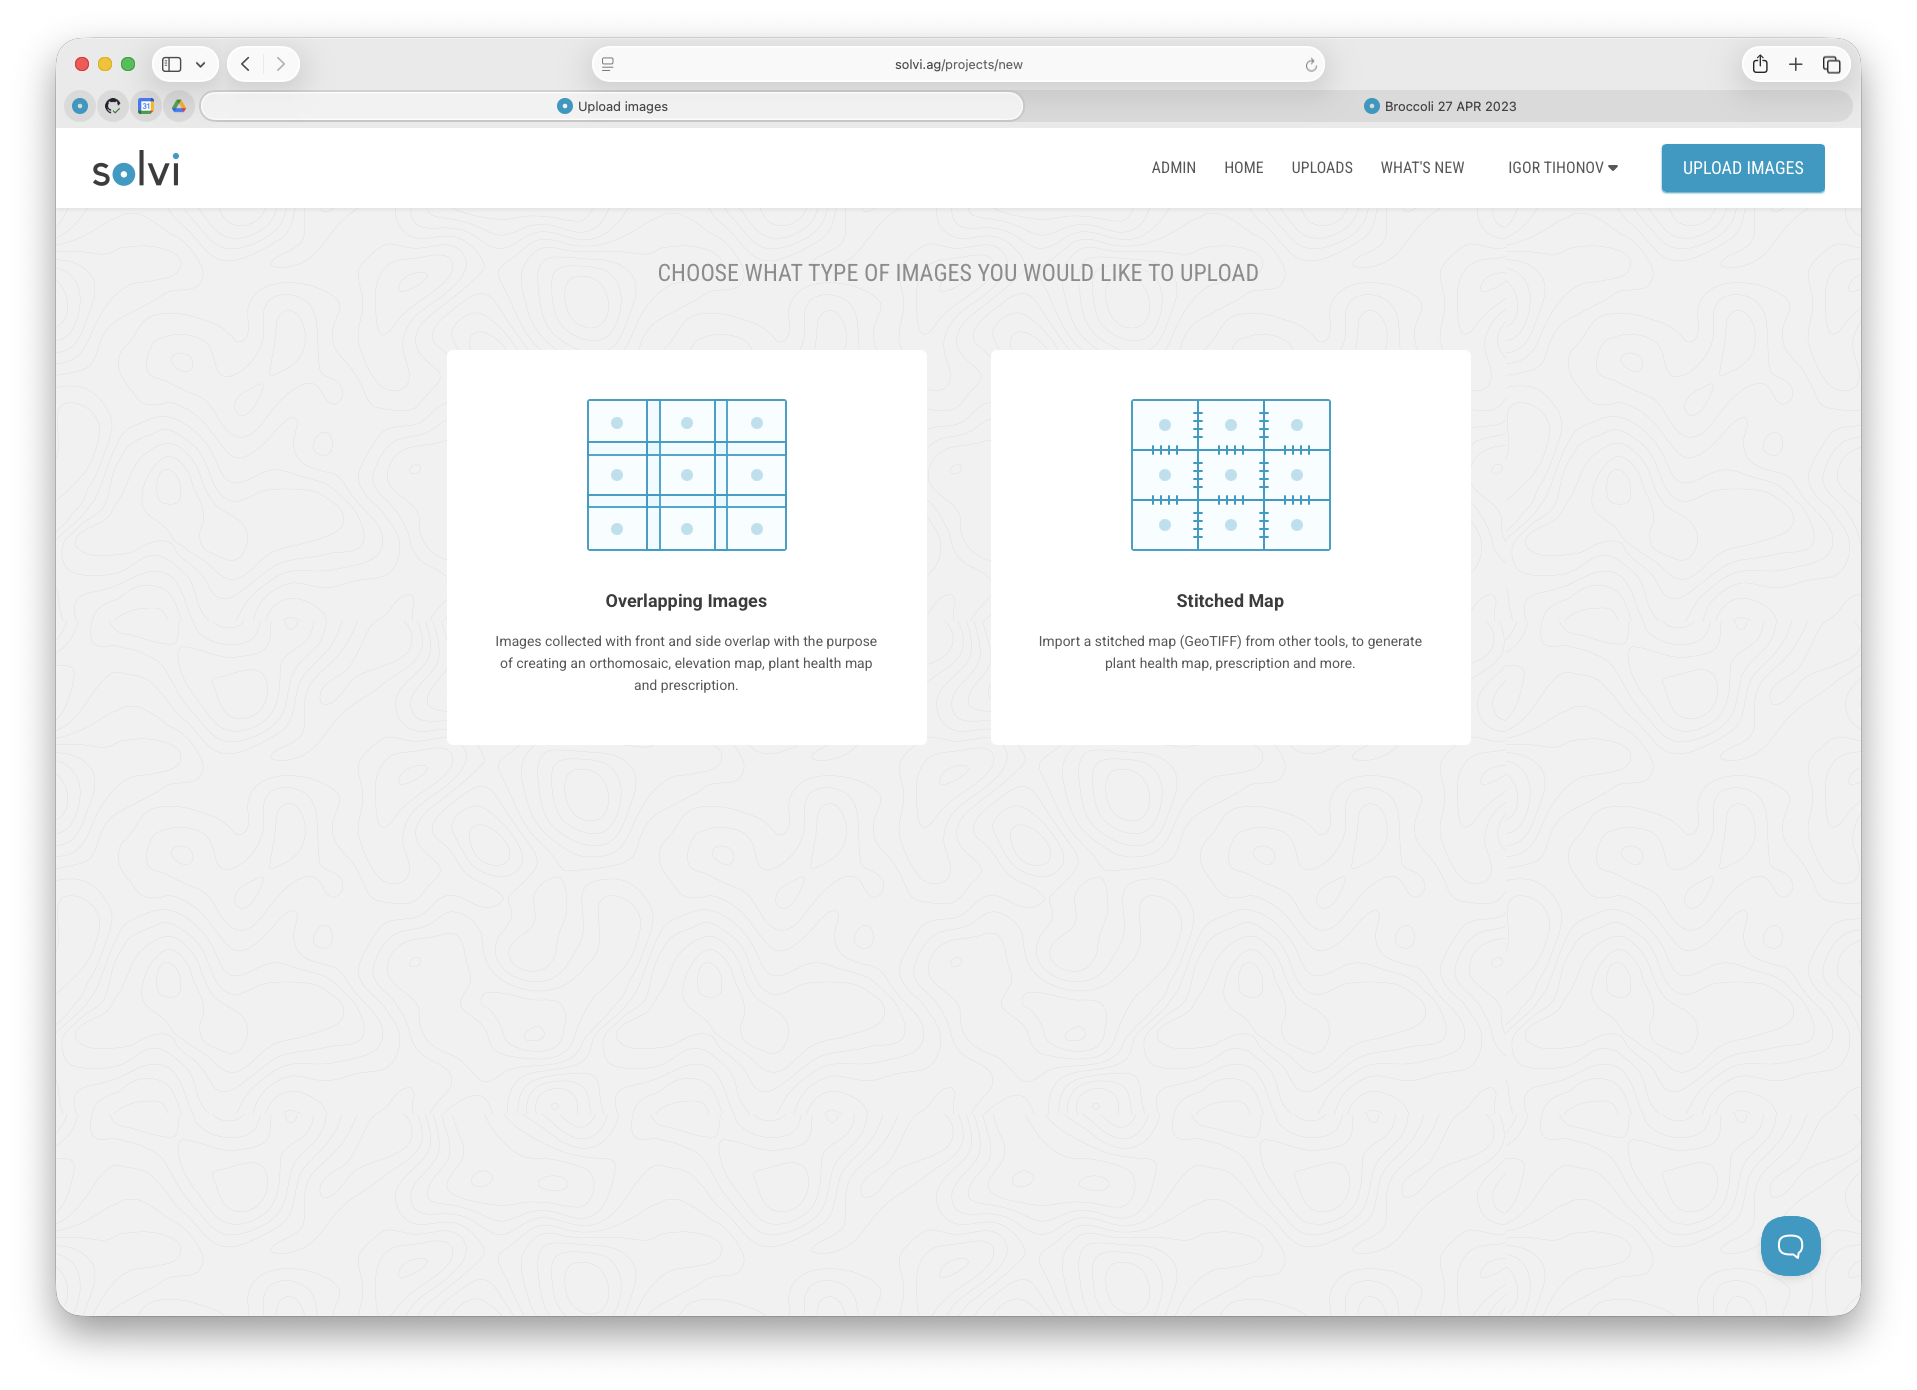
Choosing Upload Type
The first decision is which upload type to use. Solvi supports two:
- Overlapping Images: This is the most common option. Use it when you have raw drone imagery — typically hundreds or thousands of overlapping photos from a single flight. Solvi will stitch these images into an orthomosaic and process them further for analysis.
- Stitched Map (GeoTIFF): Choose this if you already processed the imagery in external software like Pix4D or Metashape and have a georeferenced GeoTIFF file ready. Solvi will skip stitching and only perform analysis on the map.