Working with Fields
Fields are the second level of organization in Solvi. Each Farm can contain multiple Fields, and each Field can hold multiple Uploads. Fields group together imagery collected at the same location over time, making it possible to compare results across multiple flights.
Uploads belonging to the same Field share the same boundary and allow easy reuse of resources between them. For example, trial plot boundaries created for Zonal Statistics in one Upload can be quickly copied and applied to other Uploads in the same Field.
When a Field contains two or more Uploads, a timeline automatically appears at the bottom of the analytics map view. The timeline provides an overview of all data collection dates for that Field and makes it simple to switch between different Uploads by clicking on the date.
Viewing Fields Within a Farm
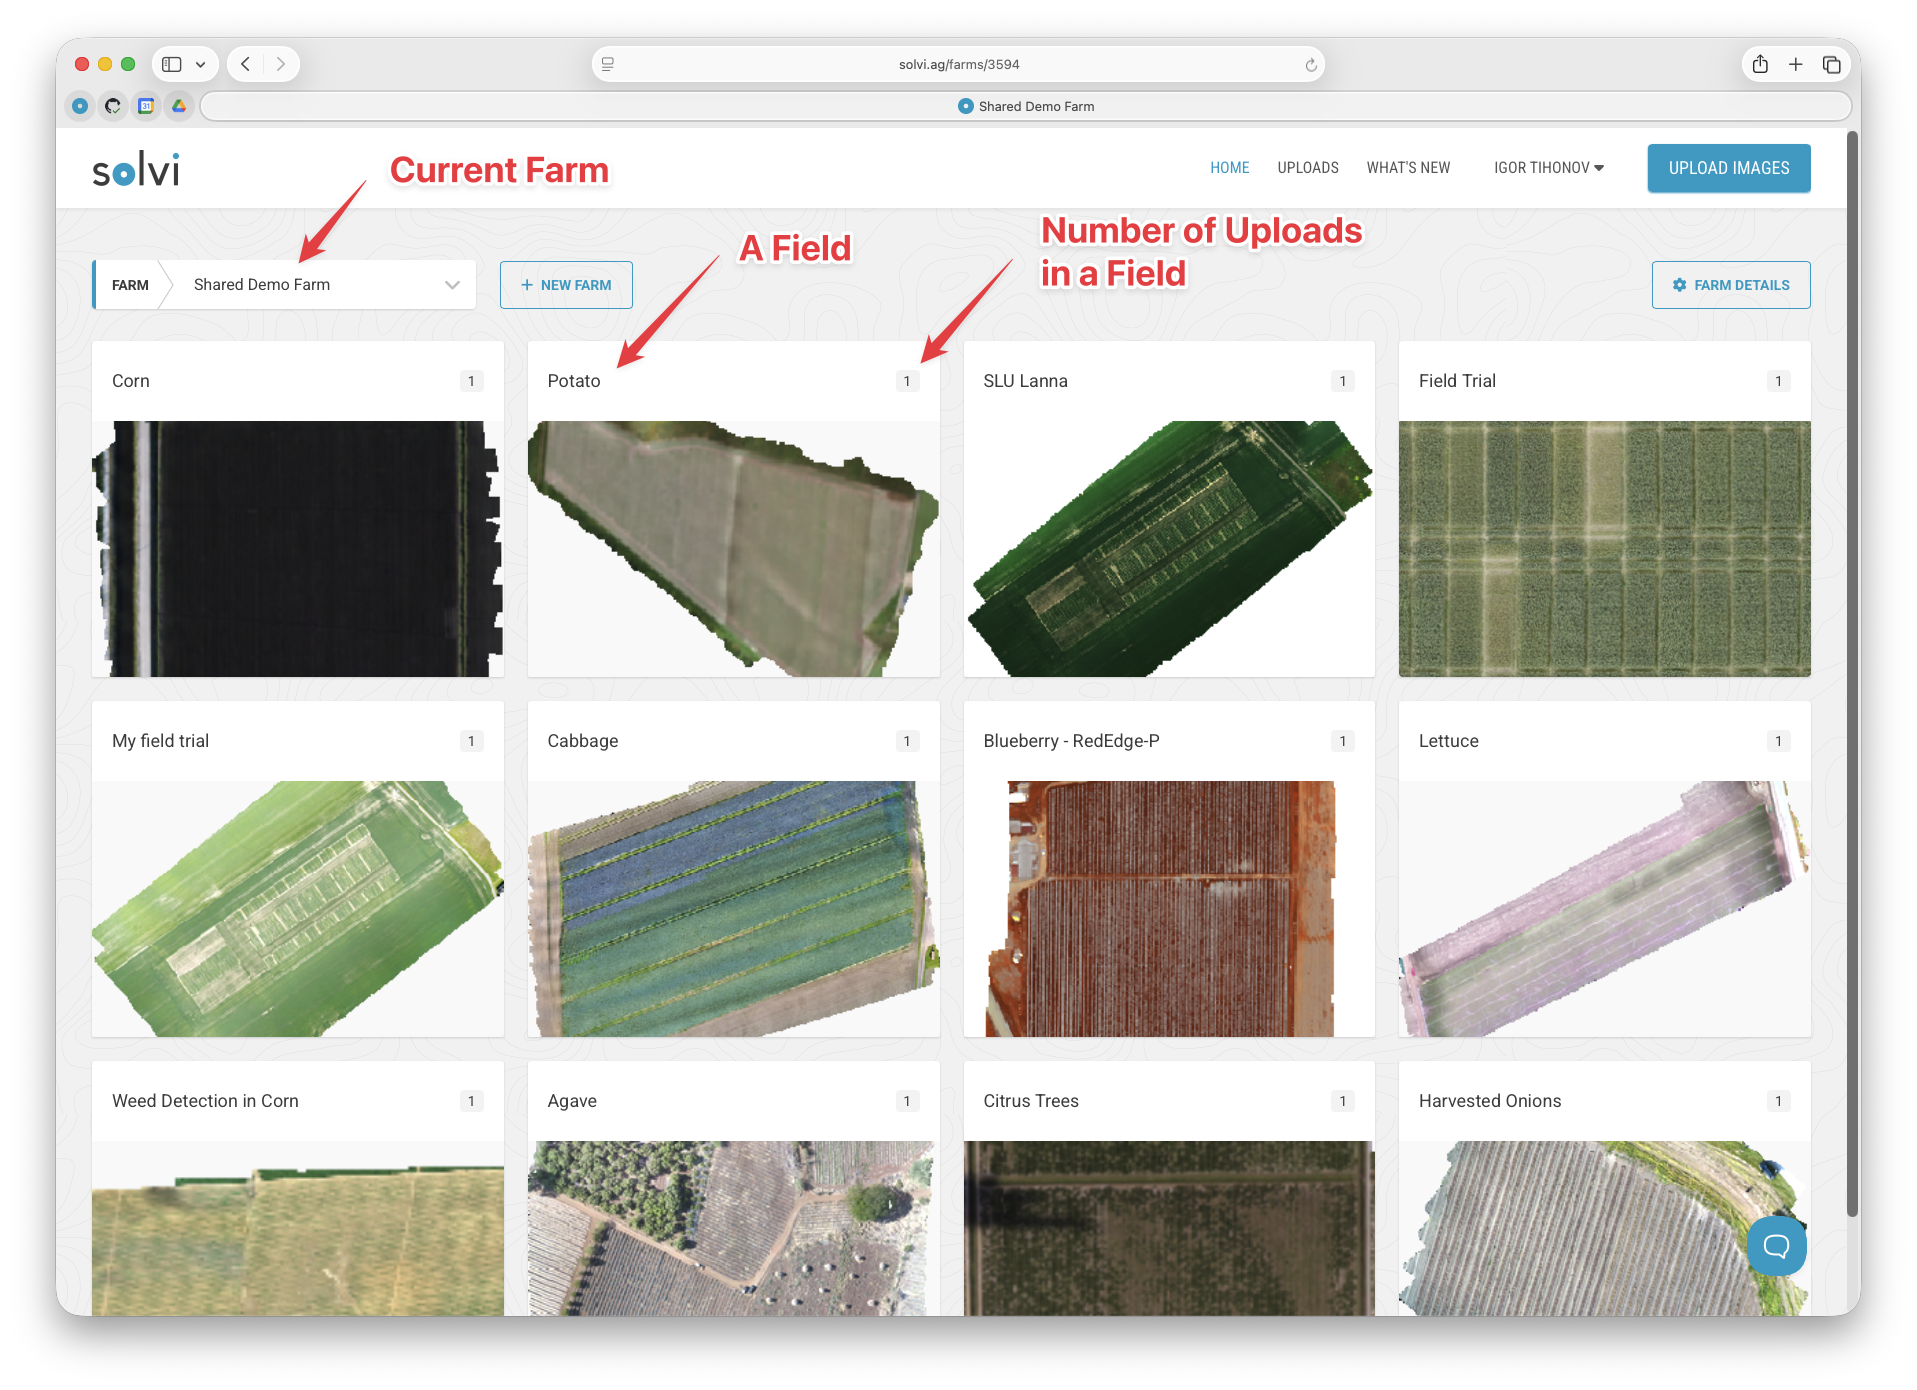
When you open a Farm, you will see a grid of Fields belonging to it. Each Field is displayed as a thumbnail that shows the most recent drone imagery uploaded to that Field. In the corner of the thumbnail, you will also see the number of Uploads stored in the Field.
Creating a New Field During Upload
Fields can be created directly from the Upload workflow. If the correct Field does not already exist, simply click New Field, give it a name, and the Field will be added to the Farm.
Defining Field Boundaries
Field boundaries do not need to be drawn when creating a new Field. By default, Solvi assigns a rough boundary based on the extent of the first Upload added to the Field.
Later, boundaries can be updated manually or replaced by importing a shapefile with the Field Boundary tool. Once set, the boundary will apply to all future Uploads in that Field.