Working with Uploads
Uploads are the lowest level of organization in Solvi. Each Upload represents a single dataset of drone imagery, typically collected during one or several consecutive flights over a field. Uploads are always linked to a Field, making it easy to keep multiple datasets for the same location grouped together.
Viewing All Uploads
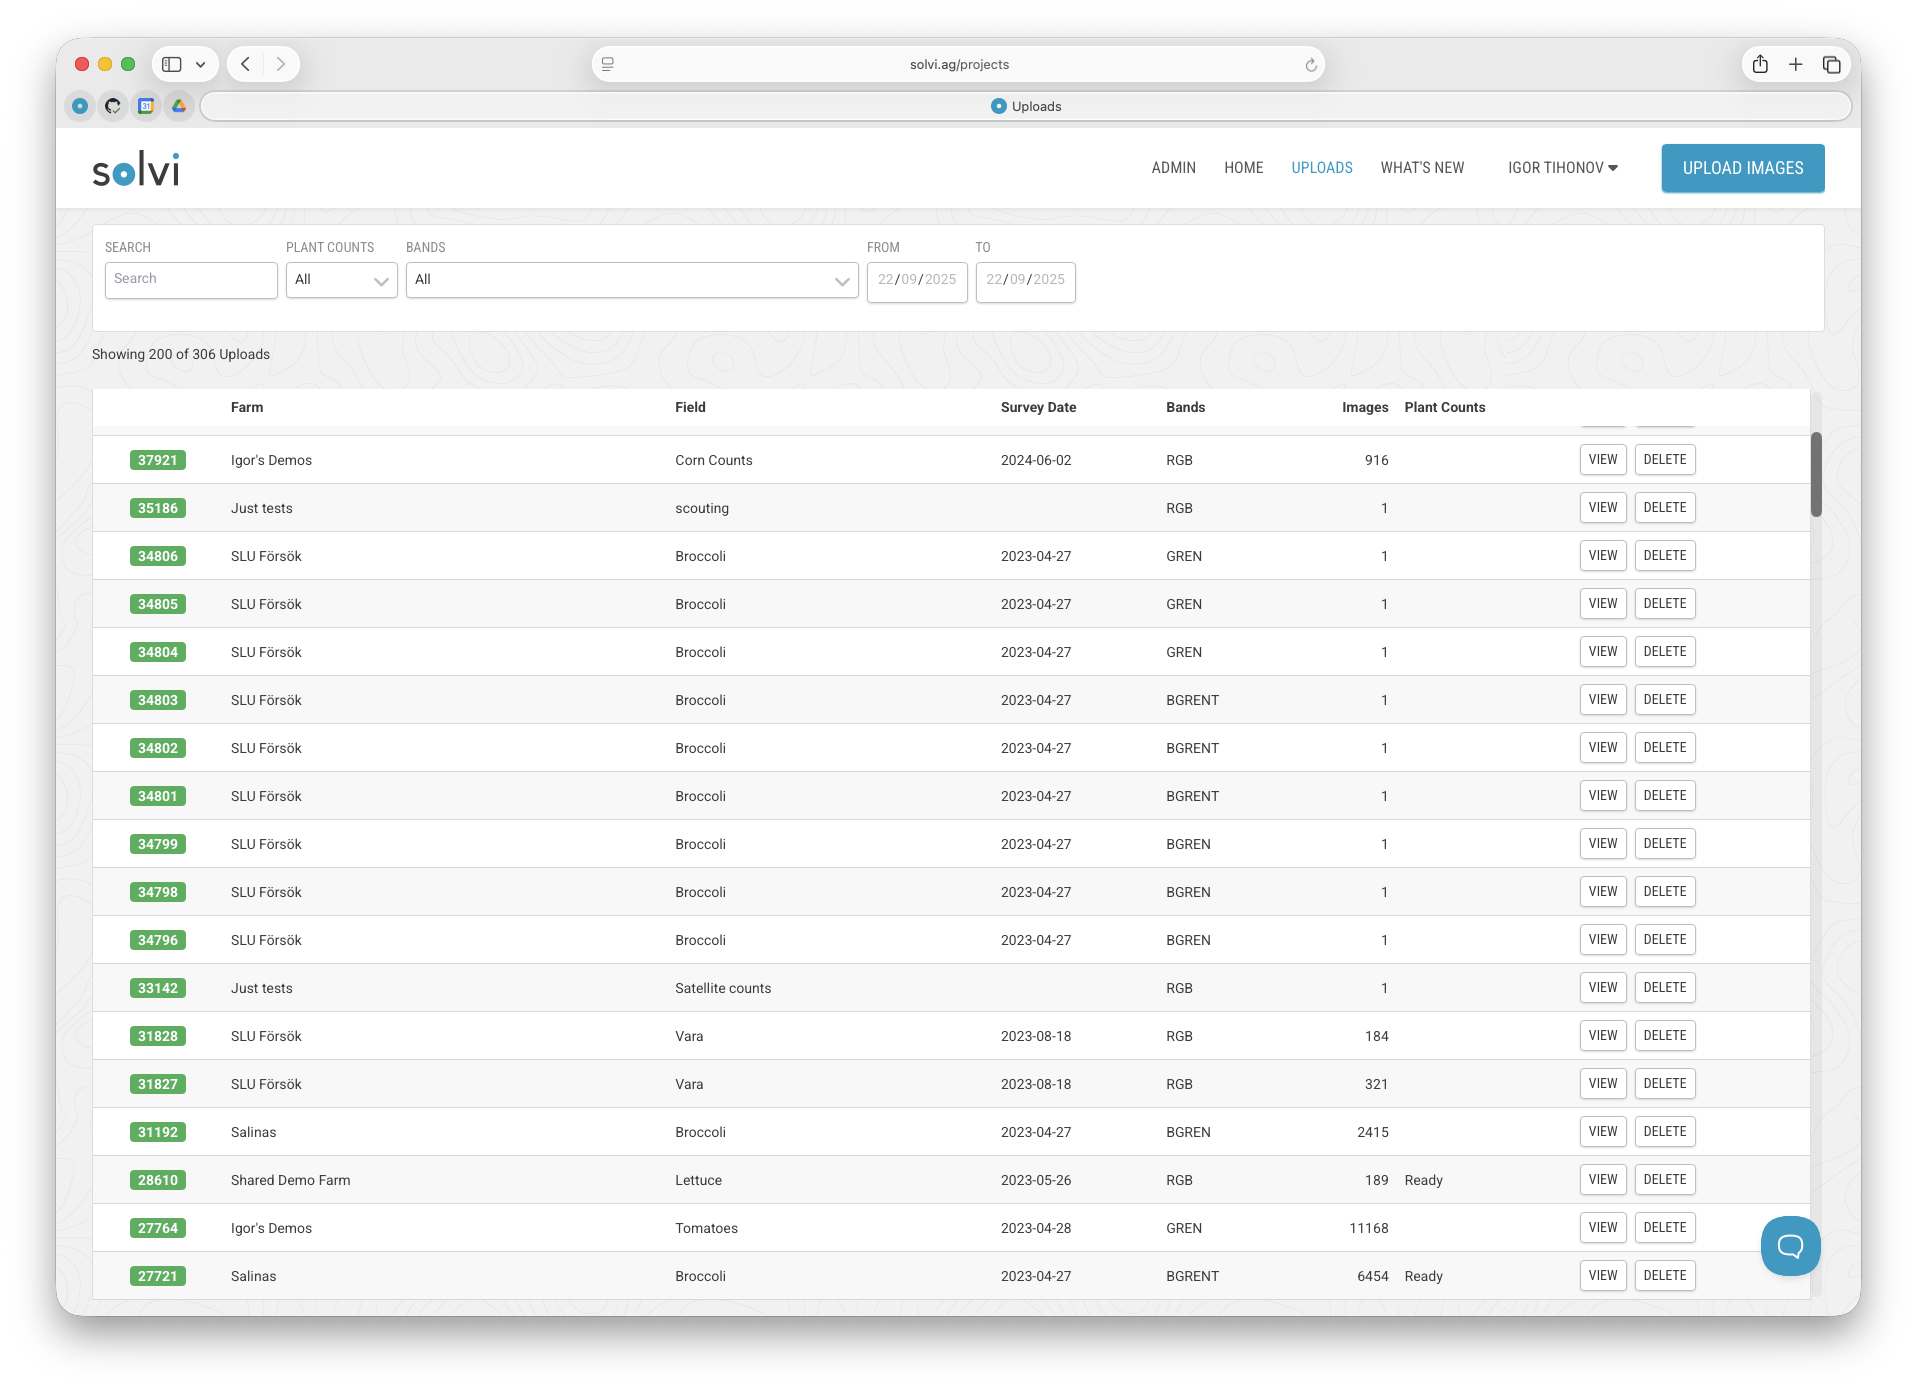
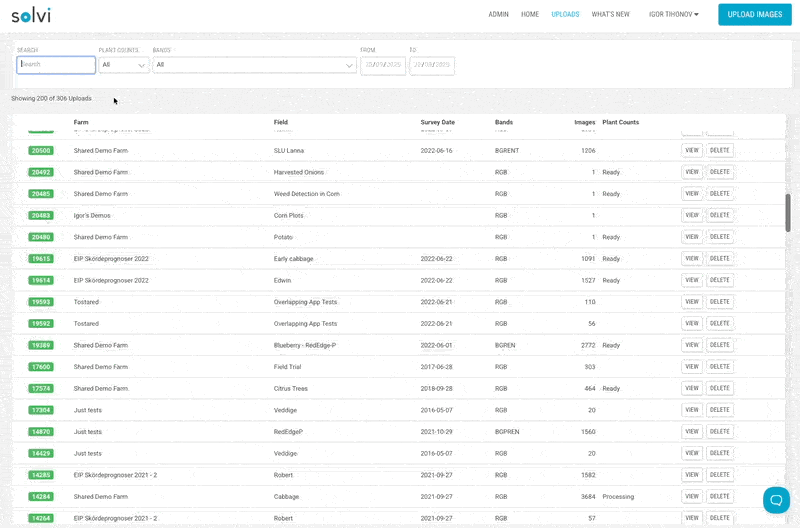
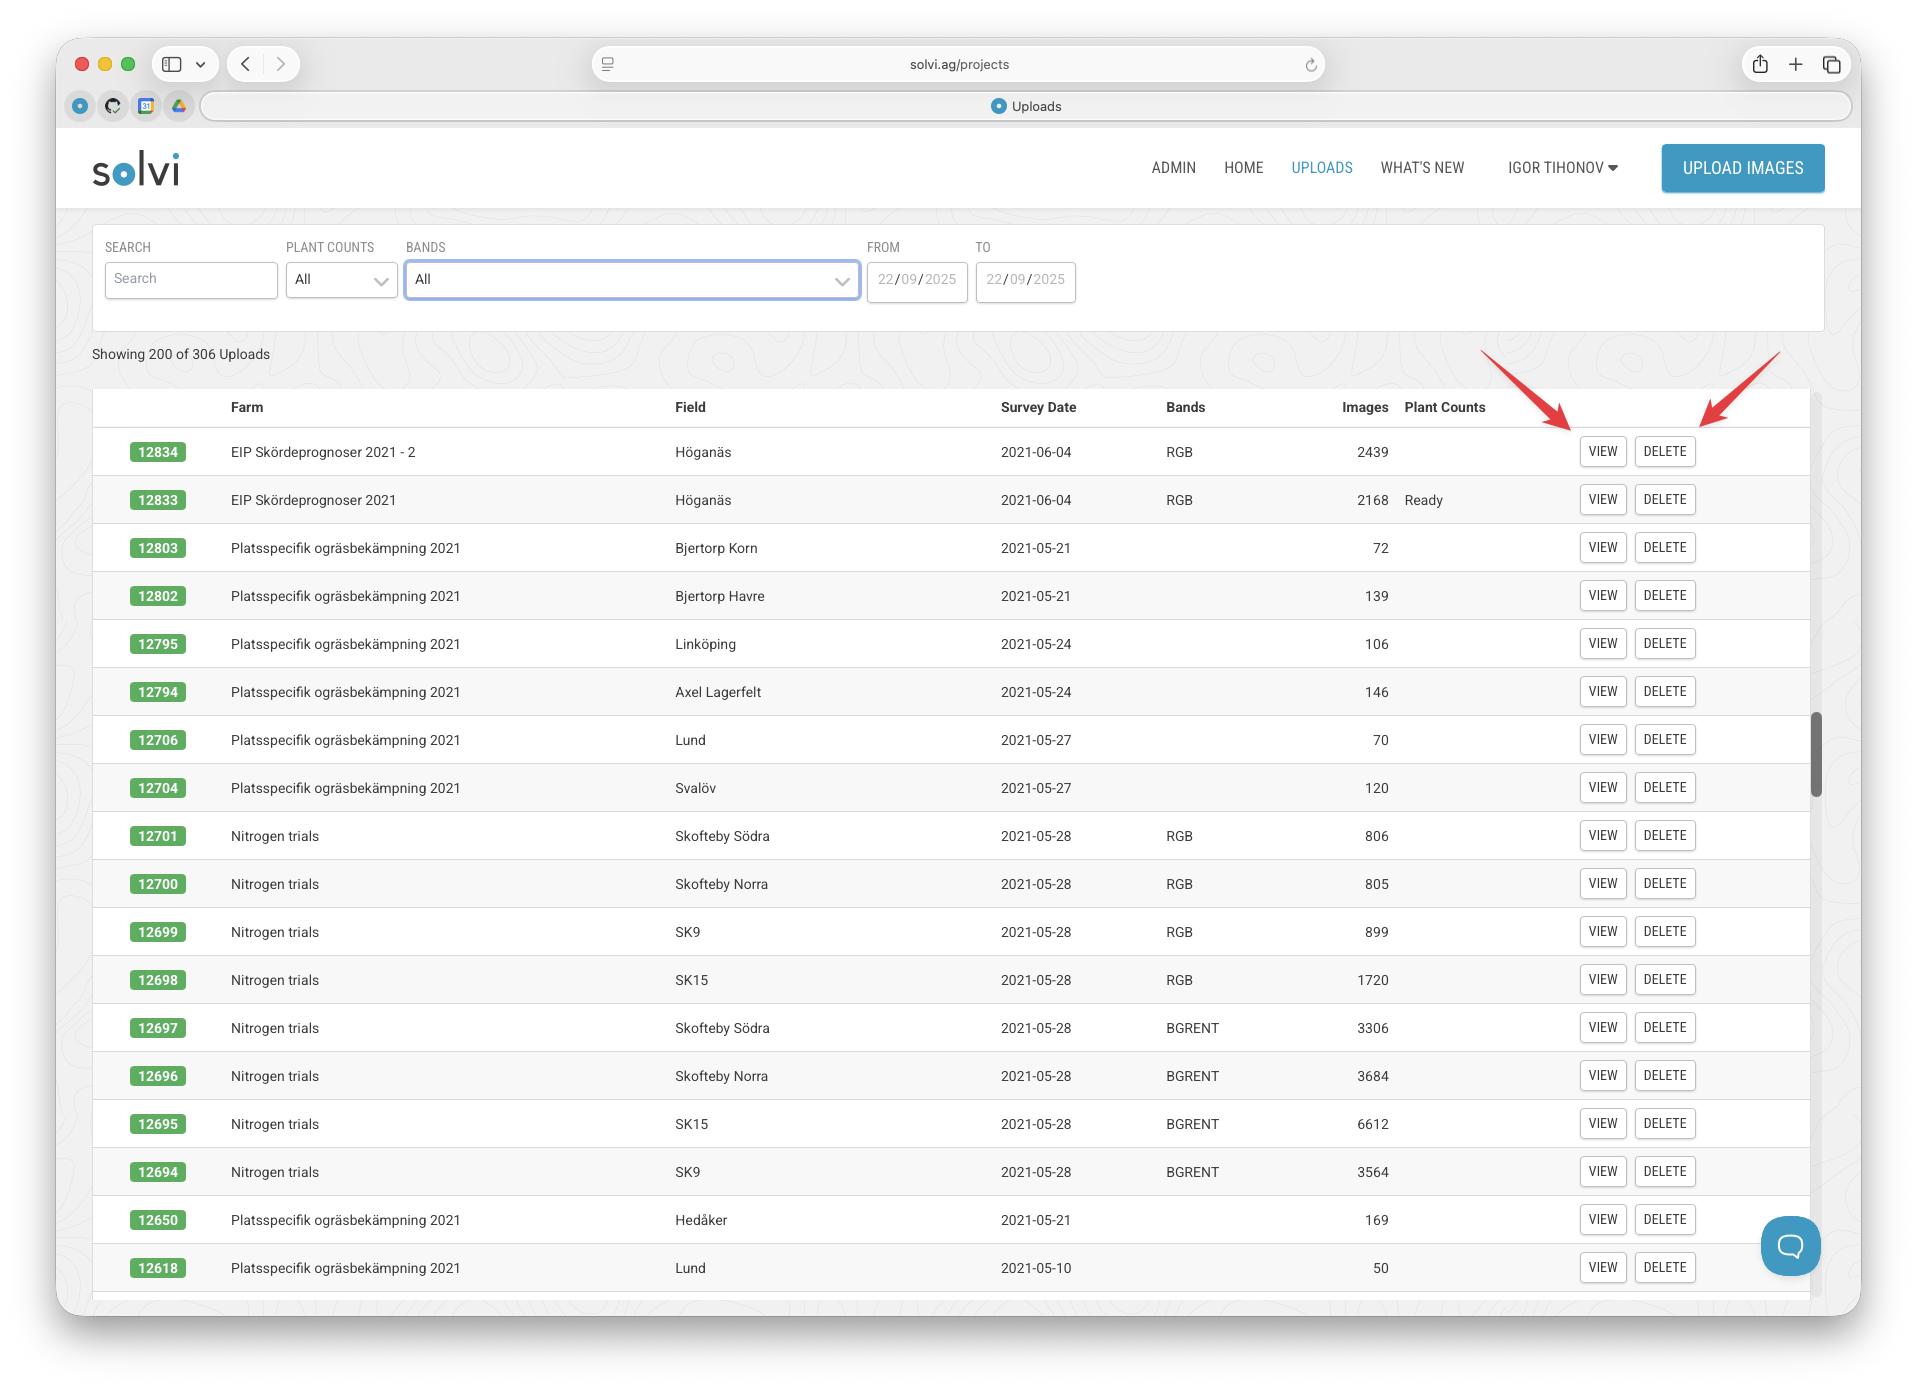
To see an overview of all Uploads across your account, open the Uploads page from the top menu. This page lists every Upload from all Farms and Fields in user's account. It provides a centralized view of your datasets, making it easy to find and manage them.
Filtering and Searching Uploads
The Uploads page includes several filtering options:
- Search by Farm, Field, or Upload ID
- Filter by date range to find datasets collected within a specific time period
- Filter by camera type or available bands (e.g., multispectral datasets)
- Filter by Uploads with plant counts generated
These options make it simple to locate specific datasets, even in accounts with large numbers of Uploads.
Managing Uploads
From the Uploads page, each Upload can be opened for detailed analysis by clicking View. To remove an Upload, click Delete. Deleted Uploads are soft deleted — they remain in the system for one week. If you deleted something by mistake, contact Solvi Support during this time to have it restored. After one week, deleted Uploads are permanently removed.
Changing Farm or Field for an Upload
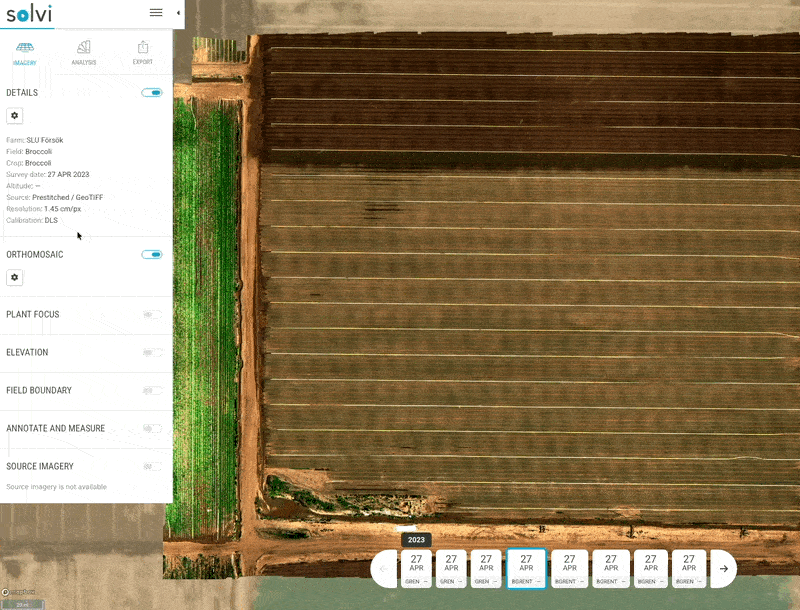
If an Upload was mistakenly assigned to the wrong Farm or Field, it can be corrected at any time after the imagery for an Upload is processed. To make the change, open the Upload by clicking View to enter the main Map Analytics page. In the Details section, click the Settings button. A dialog will open with options to change both Farm and Field, similar to the choices made during the upload workflow. After selecting the correct Farm and Field, click Save, and the changes will take effect.